
Camp Butcher Block
Nov. 20, 2015
Design & Setup
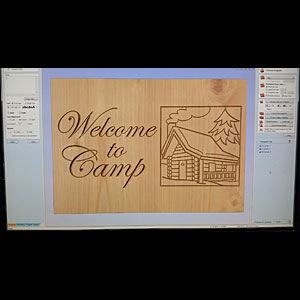
The board in Aspire 8.0 being designed. This program makes it easy to design and preview the design as how it would look on the wood.
This cutting board was designed for family who have a cabin, and I wanted to give them something for it. like most cutting and butcher block boards the main wood is hard maple. I like to use a different wood for contrast and accents. In this case it was Cherry, I like the way it handles oil and gives some contrast.
After placing the individual wood strips in my clamps to test fit everything. I glue each piece and put it back for the final clamping. I like to use Titebond III as its a waterproof glue, you never know what someone will do to the cutting board so its really just for reasurance for me.
After the glue dries I take the raw board to the planer to lower the high spots and make it easier on the drum sander. On intricate projects I will skip the planer and move right to the drum sander so as to not lose detail.
Finished Sign
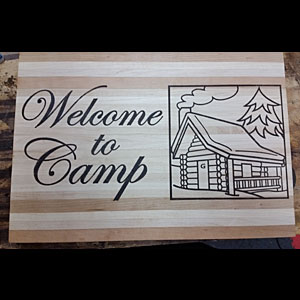
After planing and sanding, I did a final cut on all 4 sides to make sure there are no flaws or raw edges left. Measuring the final size and another sanding I take the final dimensions to my PC and begin the design for the v-carving. after the design is done and approved I take to my CNC and cut the design into the board.
After cutting I cleaned up any fuzzies and did another light sanding. I used coffee for the inlay on this board. I use CA glue and layers of coffee grounds. Sanding in between layers and vacuuming up the dust. Repeat until you have a beautiful cutting board.
I sand again, by this time I'm at 200 or so. I finished with a mineral oil and bee's wax paste. I feel it works better than mineral oil alone and lasts longer. A light sanding in between coats and one final one at 400 and it's done.
Finished Maple and Cherry Board.